
In official terms, the acorn padding is called ‘stump work’. I’m going to walk you through some very basic stump work steps in order to get you started on your padded acorn journey.
You will need:
- Felt of any colour
- Scissors
- A needle and thread
- Your embroidery hoop
- A glass of sherry
From your acorn template (which can be found in a previous blog post) you need to cut a a series of smaller acorn and/or wing sizes in felt fabric.
Decide where you want to position your acorn on the hoop.
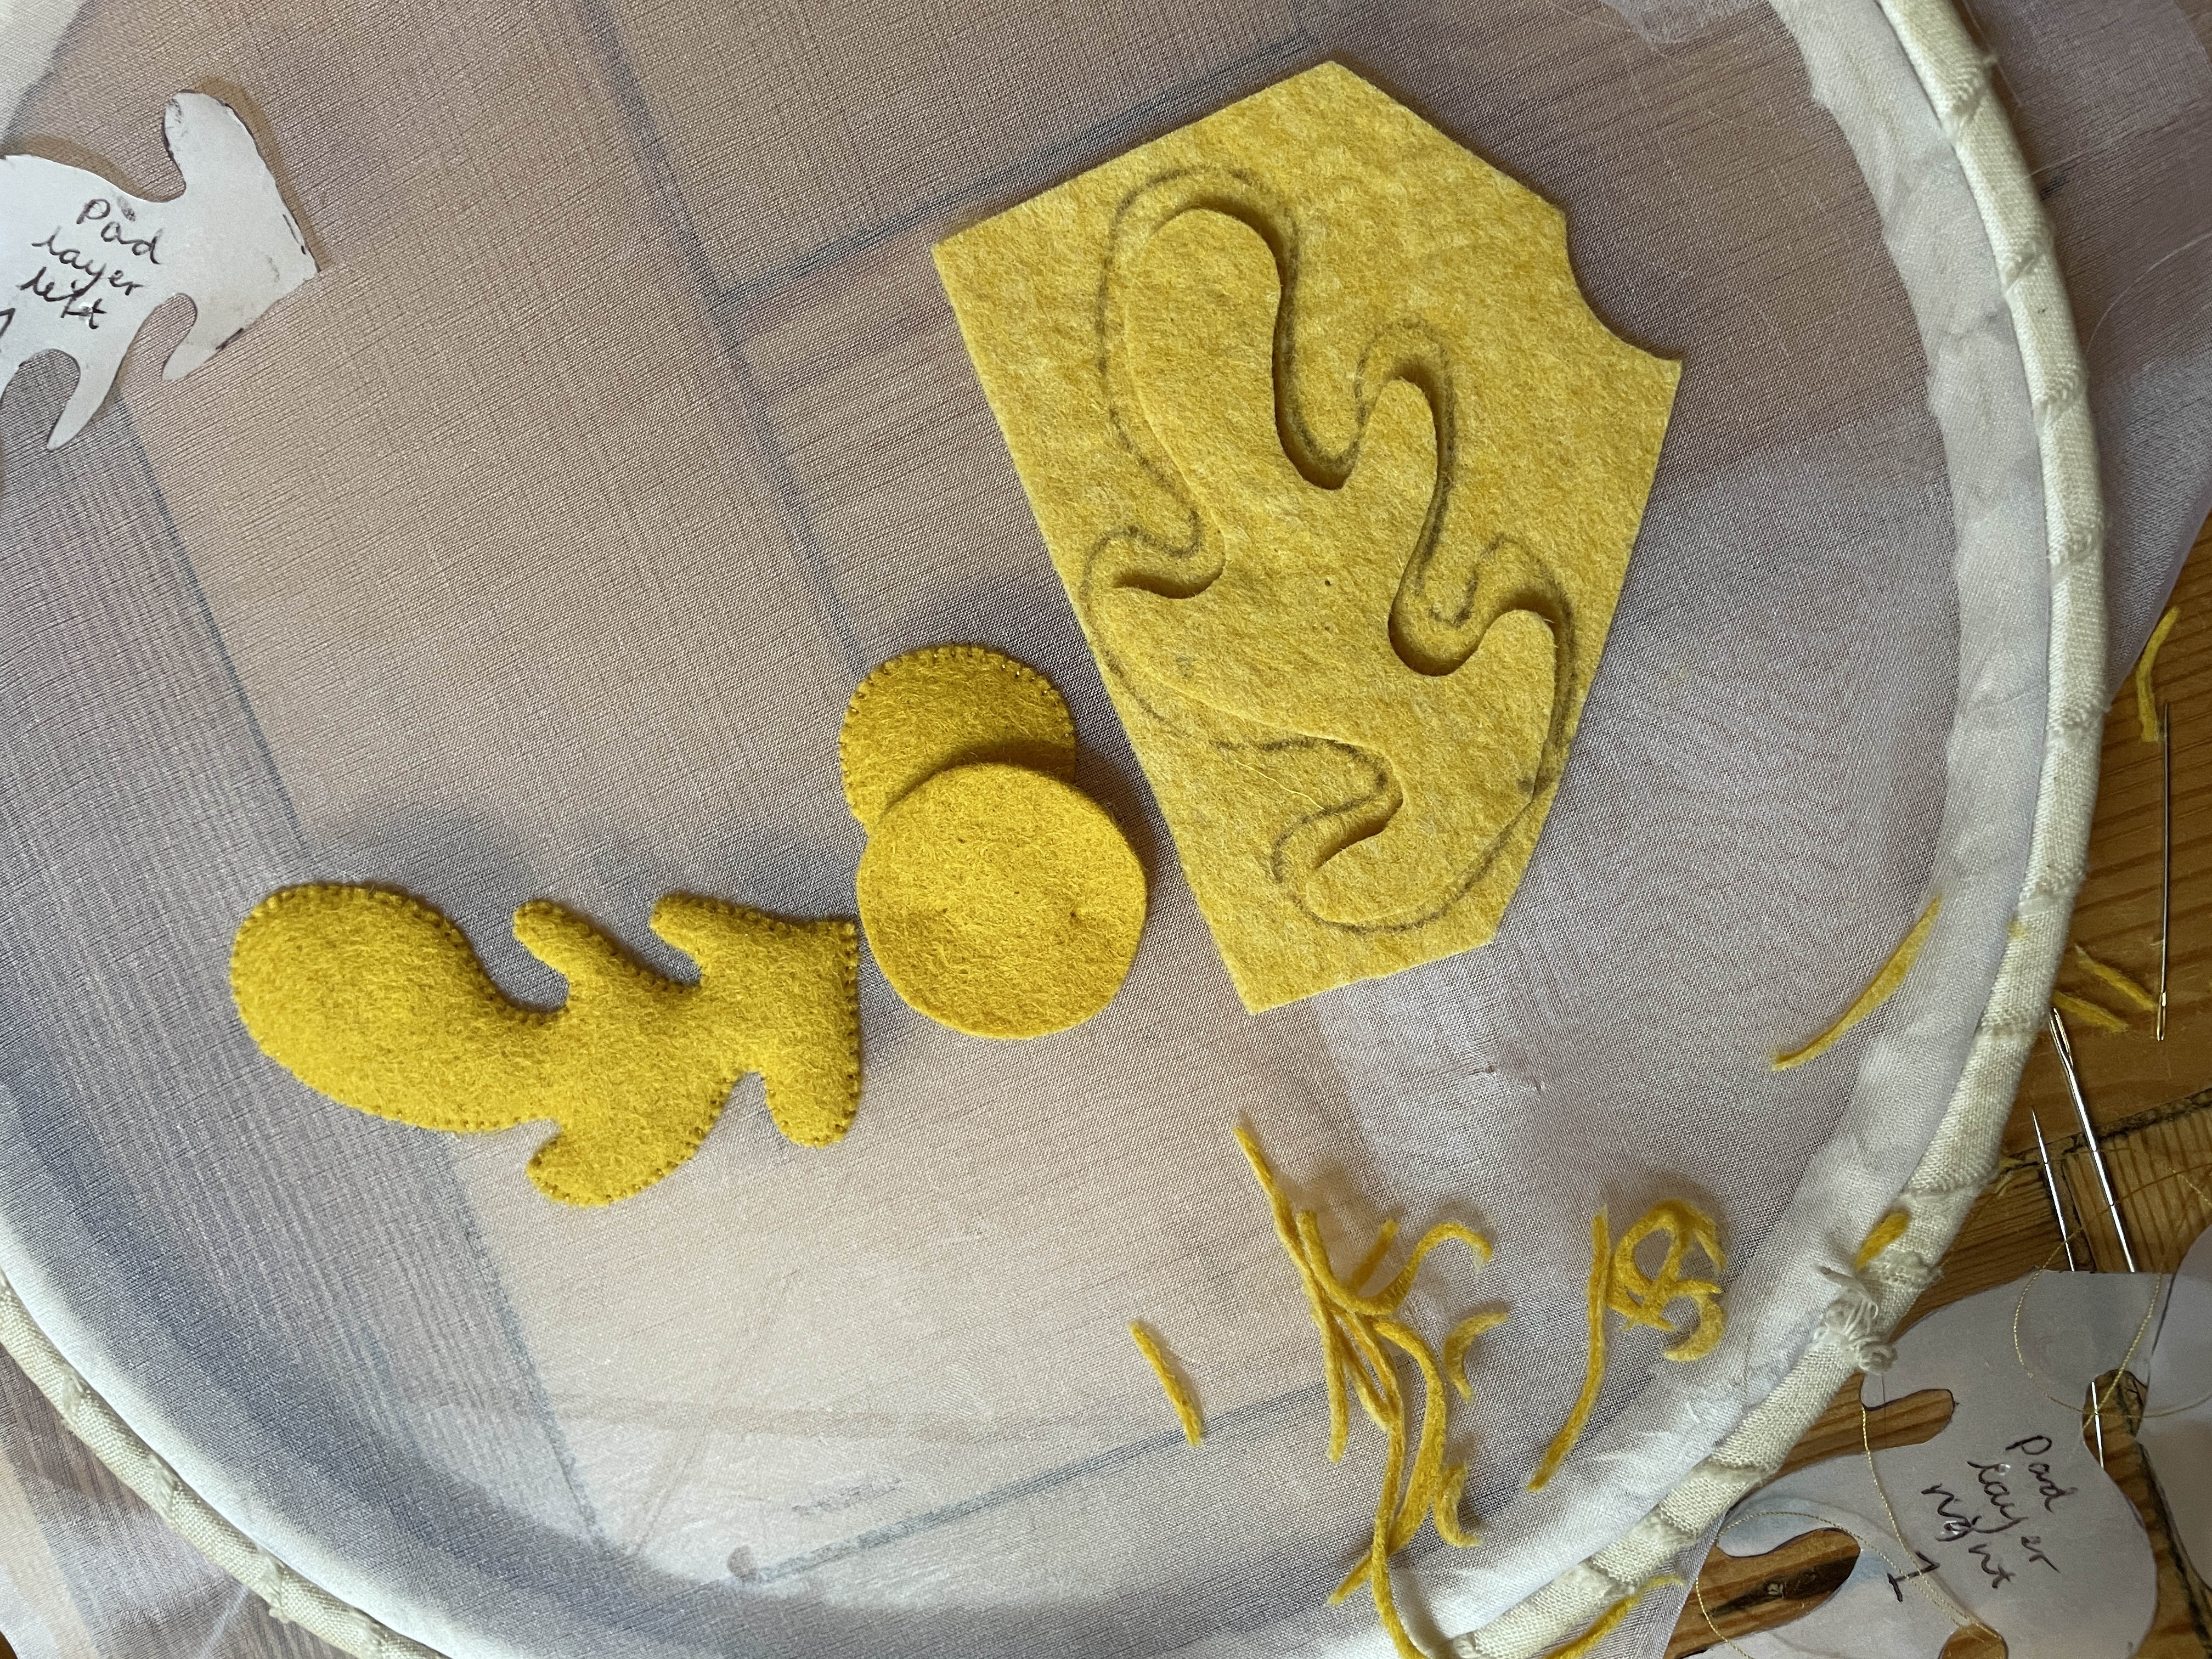
Place the smallest piece of felt first, and begin a series of tiny stab stitches around the edge to secure it down.
Cover this with the next biggest felt piece and repeat stab stitches to secure.
Finally, with the largest piece of felt, secure down with a series of stab stitches around the edge.
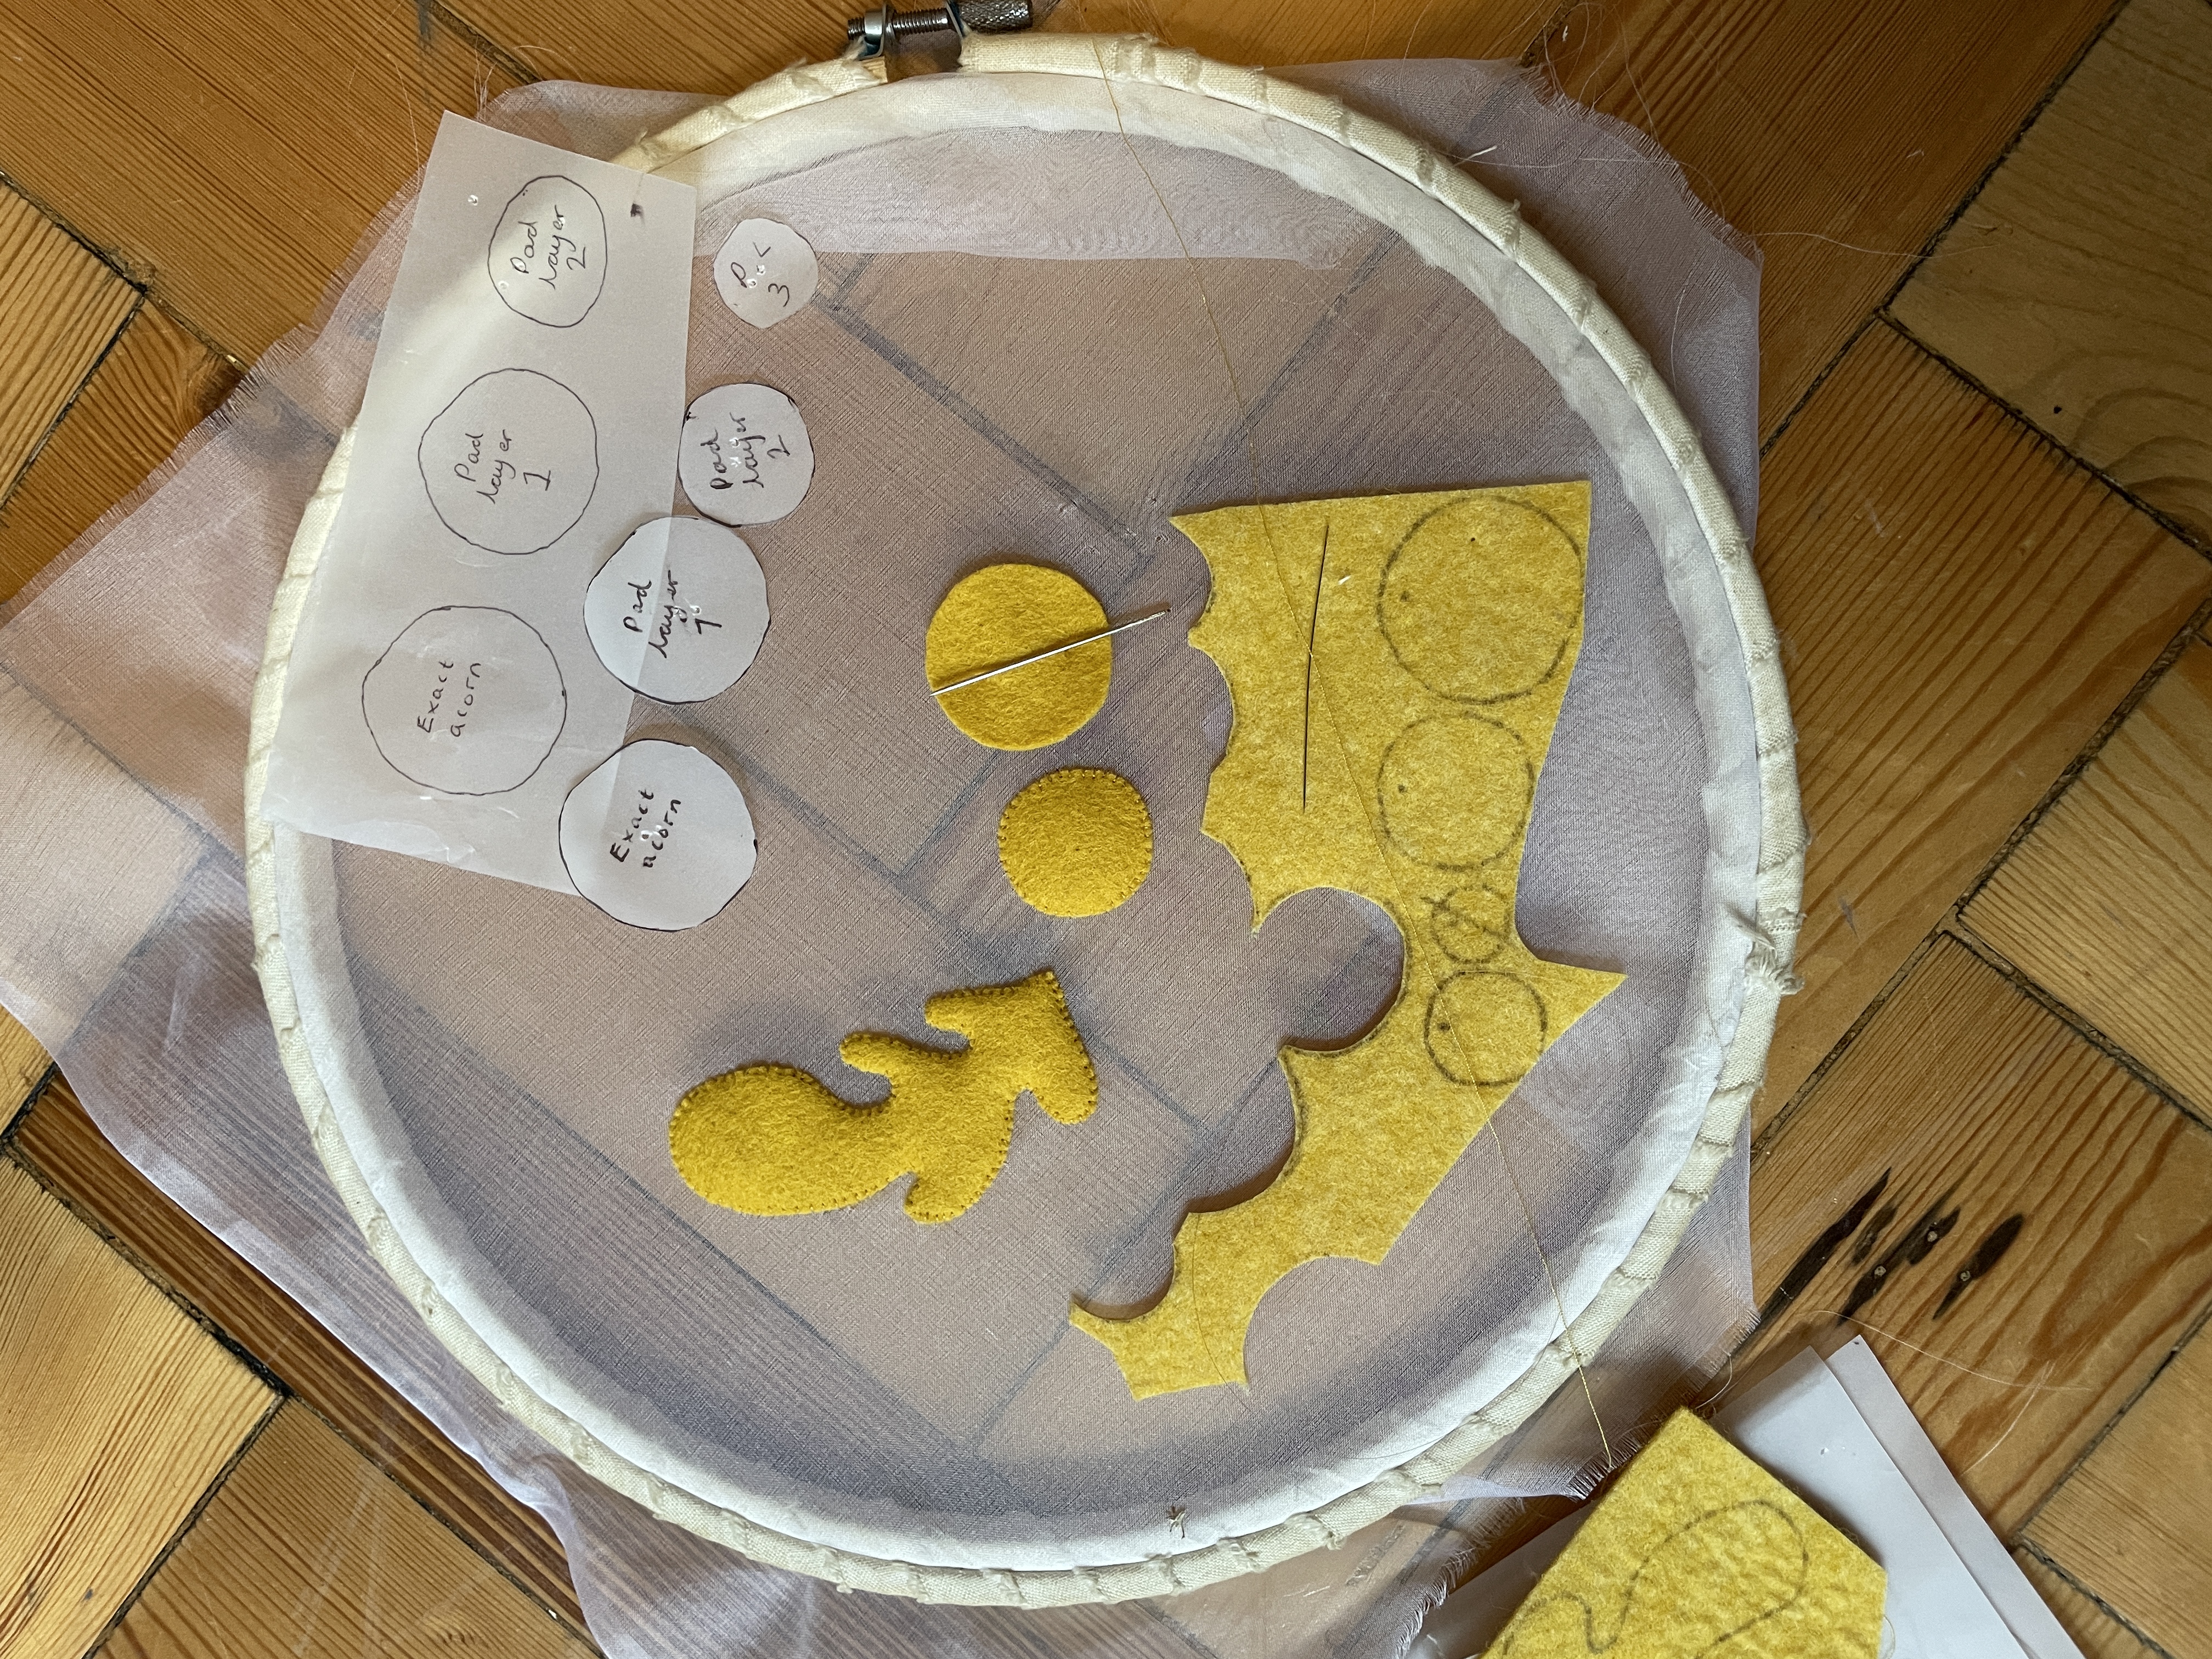
The different sizes of felt that I cut to create a domed effect on the acorn.
How I cut a slightly smaller shape of the leaf.
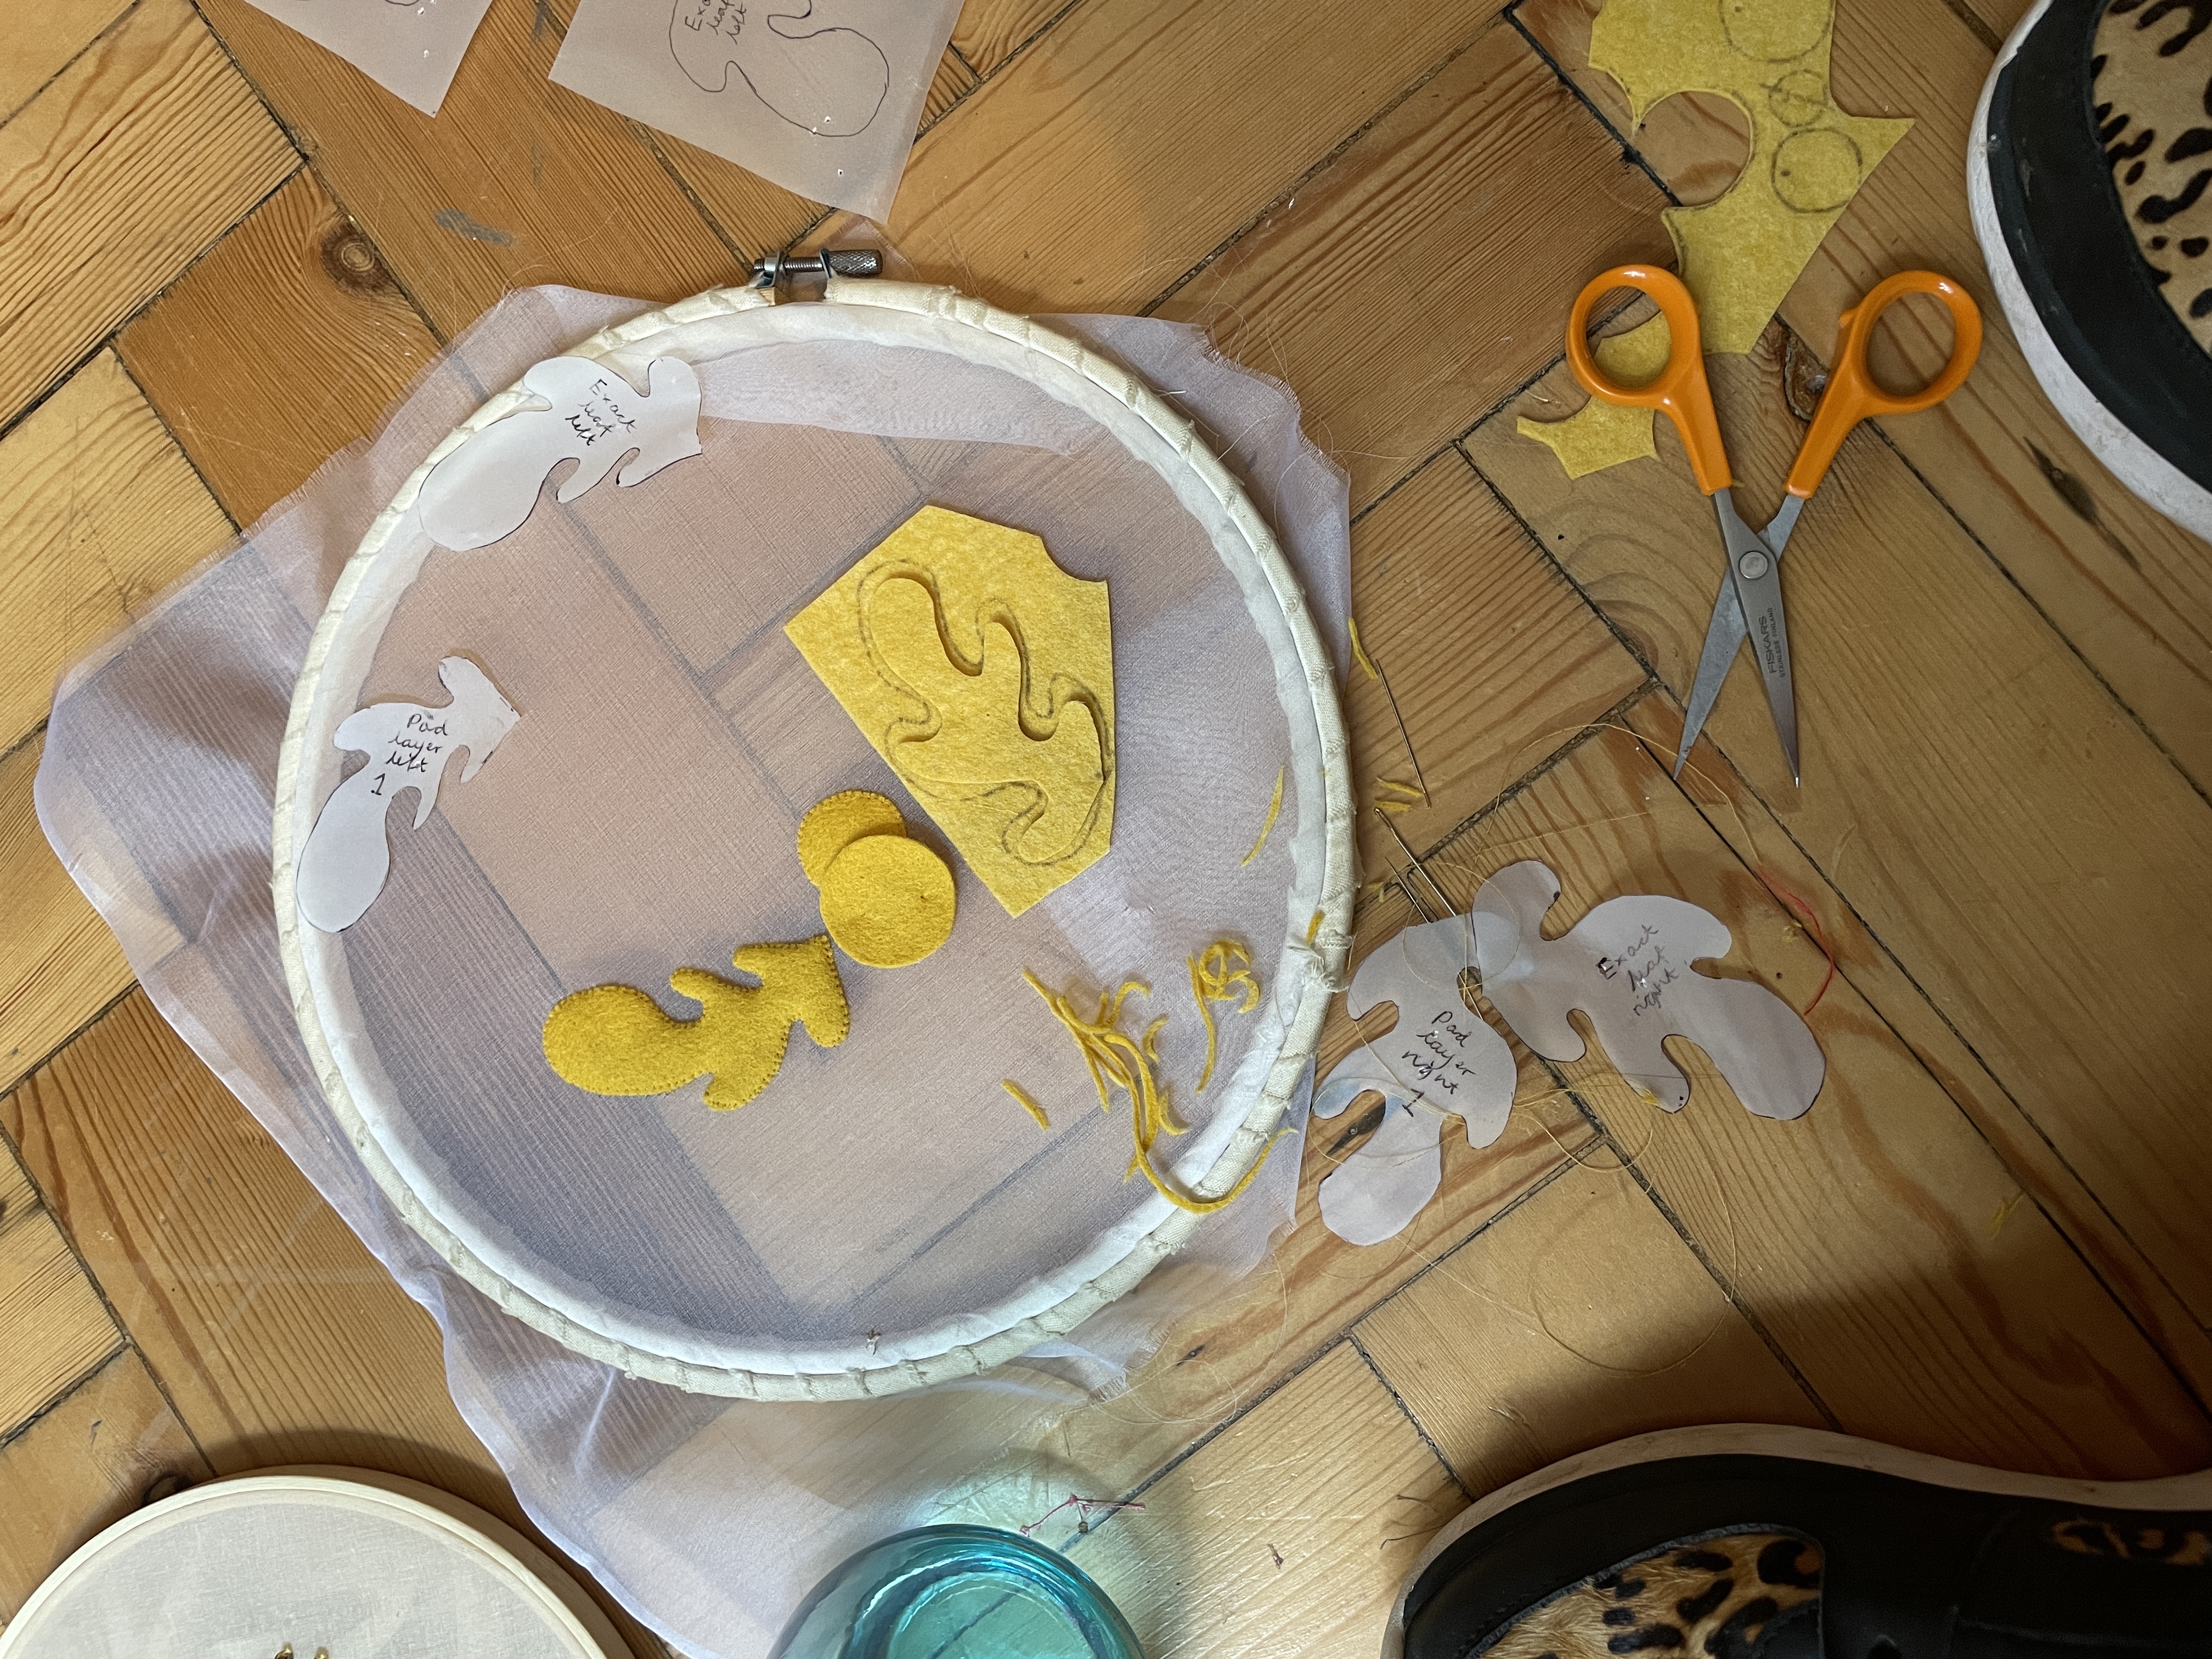
Feel free to shave off extra bits of the felt if you haven’t cut the shape quite small enough.
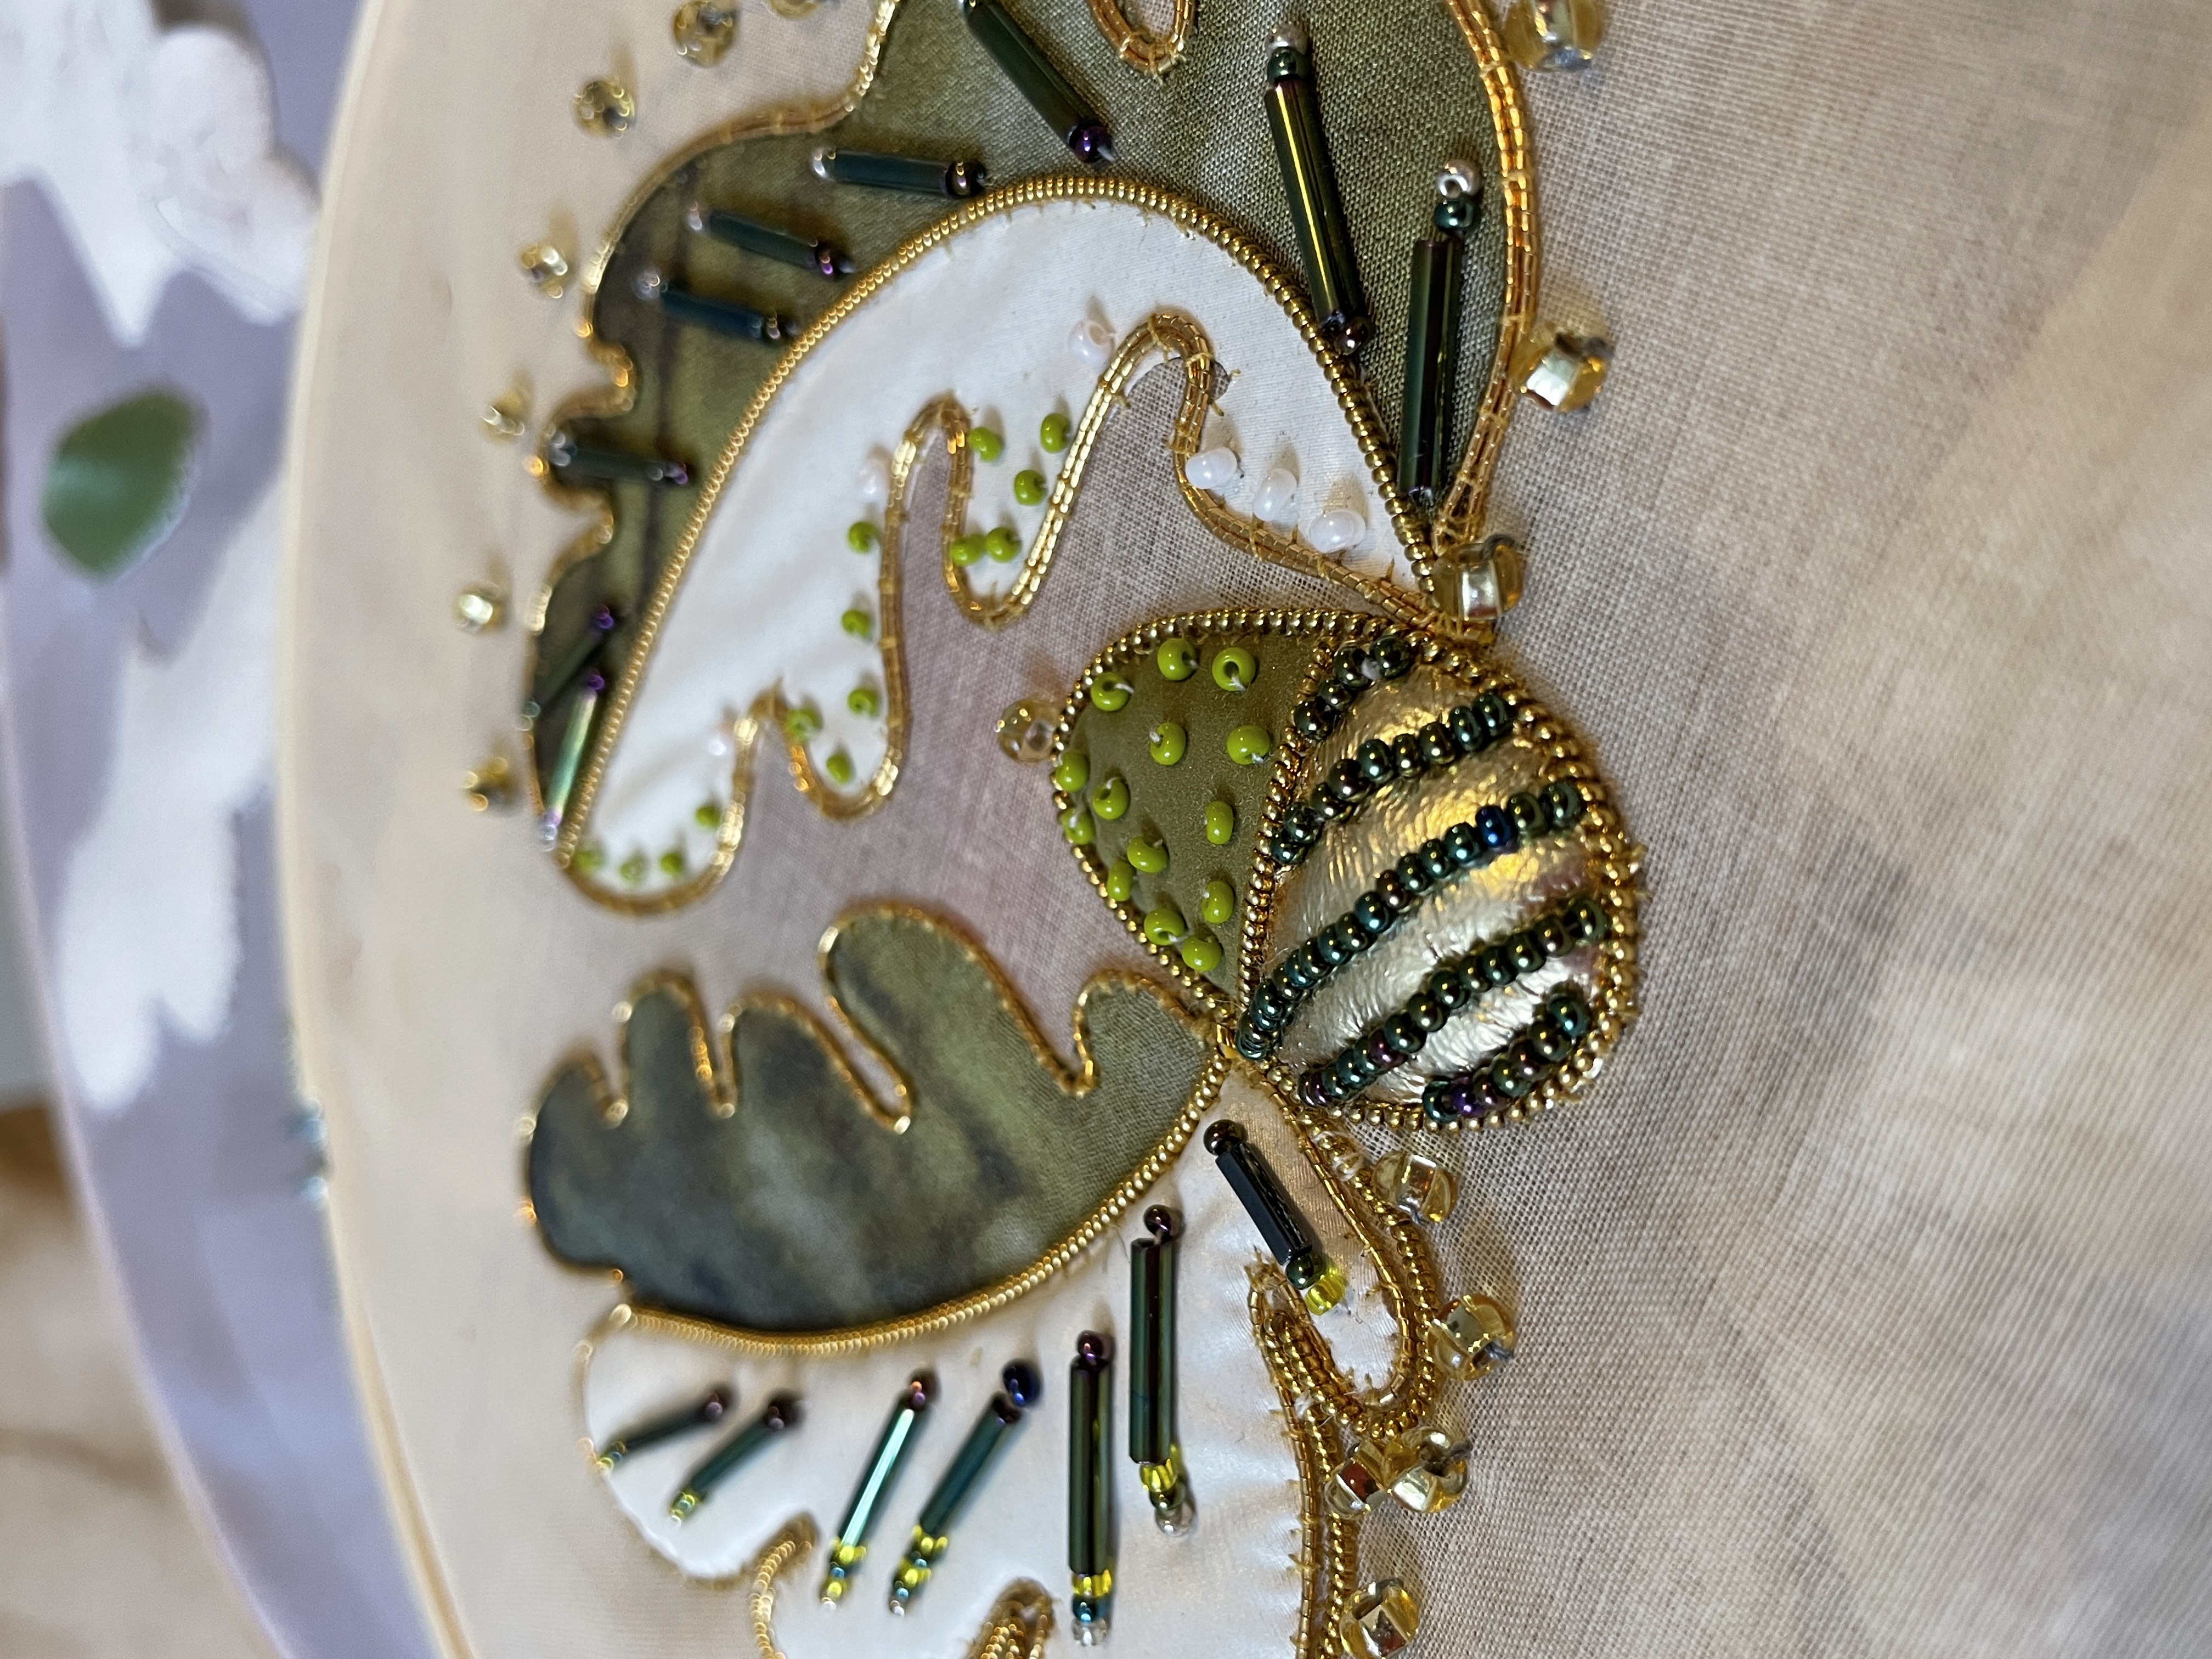
Once you have stitched down your felt padding, you can begin to go WILD with appliquéd fabric, embroidery stitches, beading and if you really fancy some gold work. Please see Google for advice on gold work - not my area!
This is an acorn I created at home when I was poorly. I’m looking for a wide range of colours, shapes and techniques. Above all show your personality and your creative courage through your flying acorn.
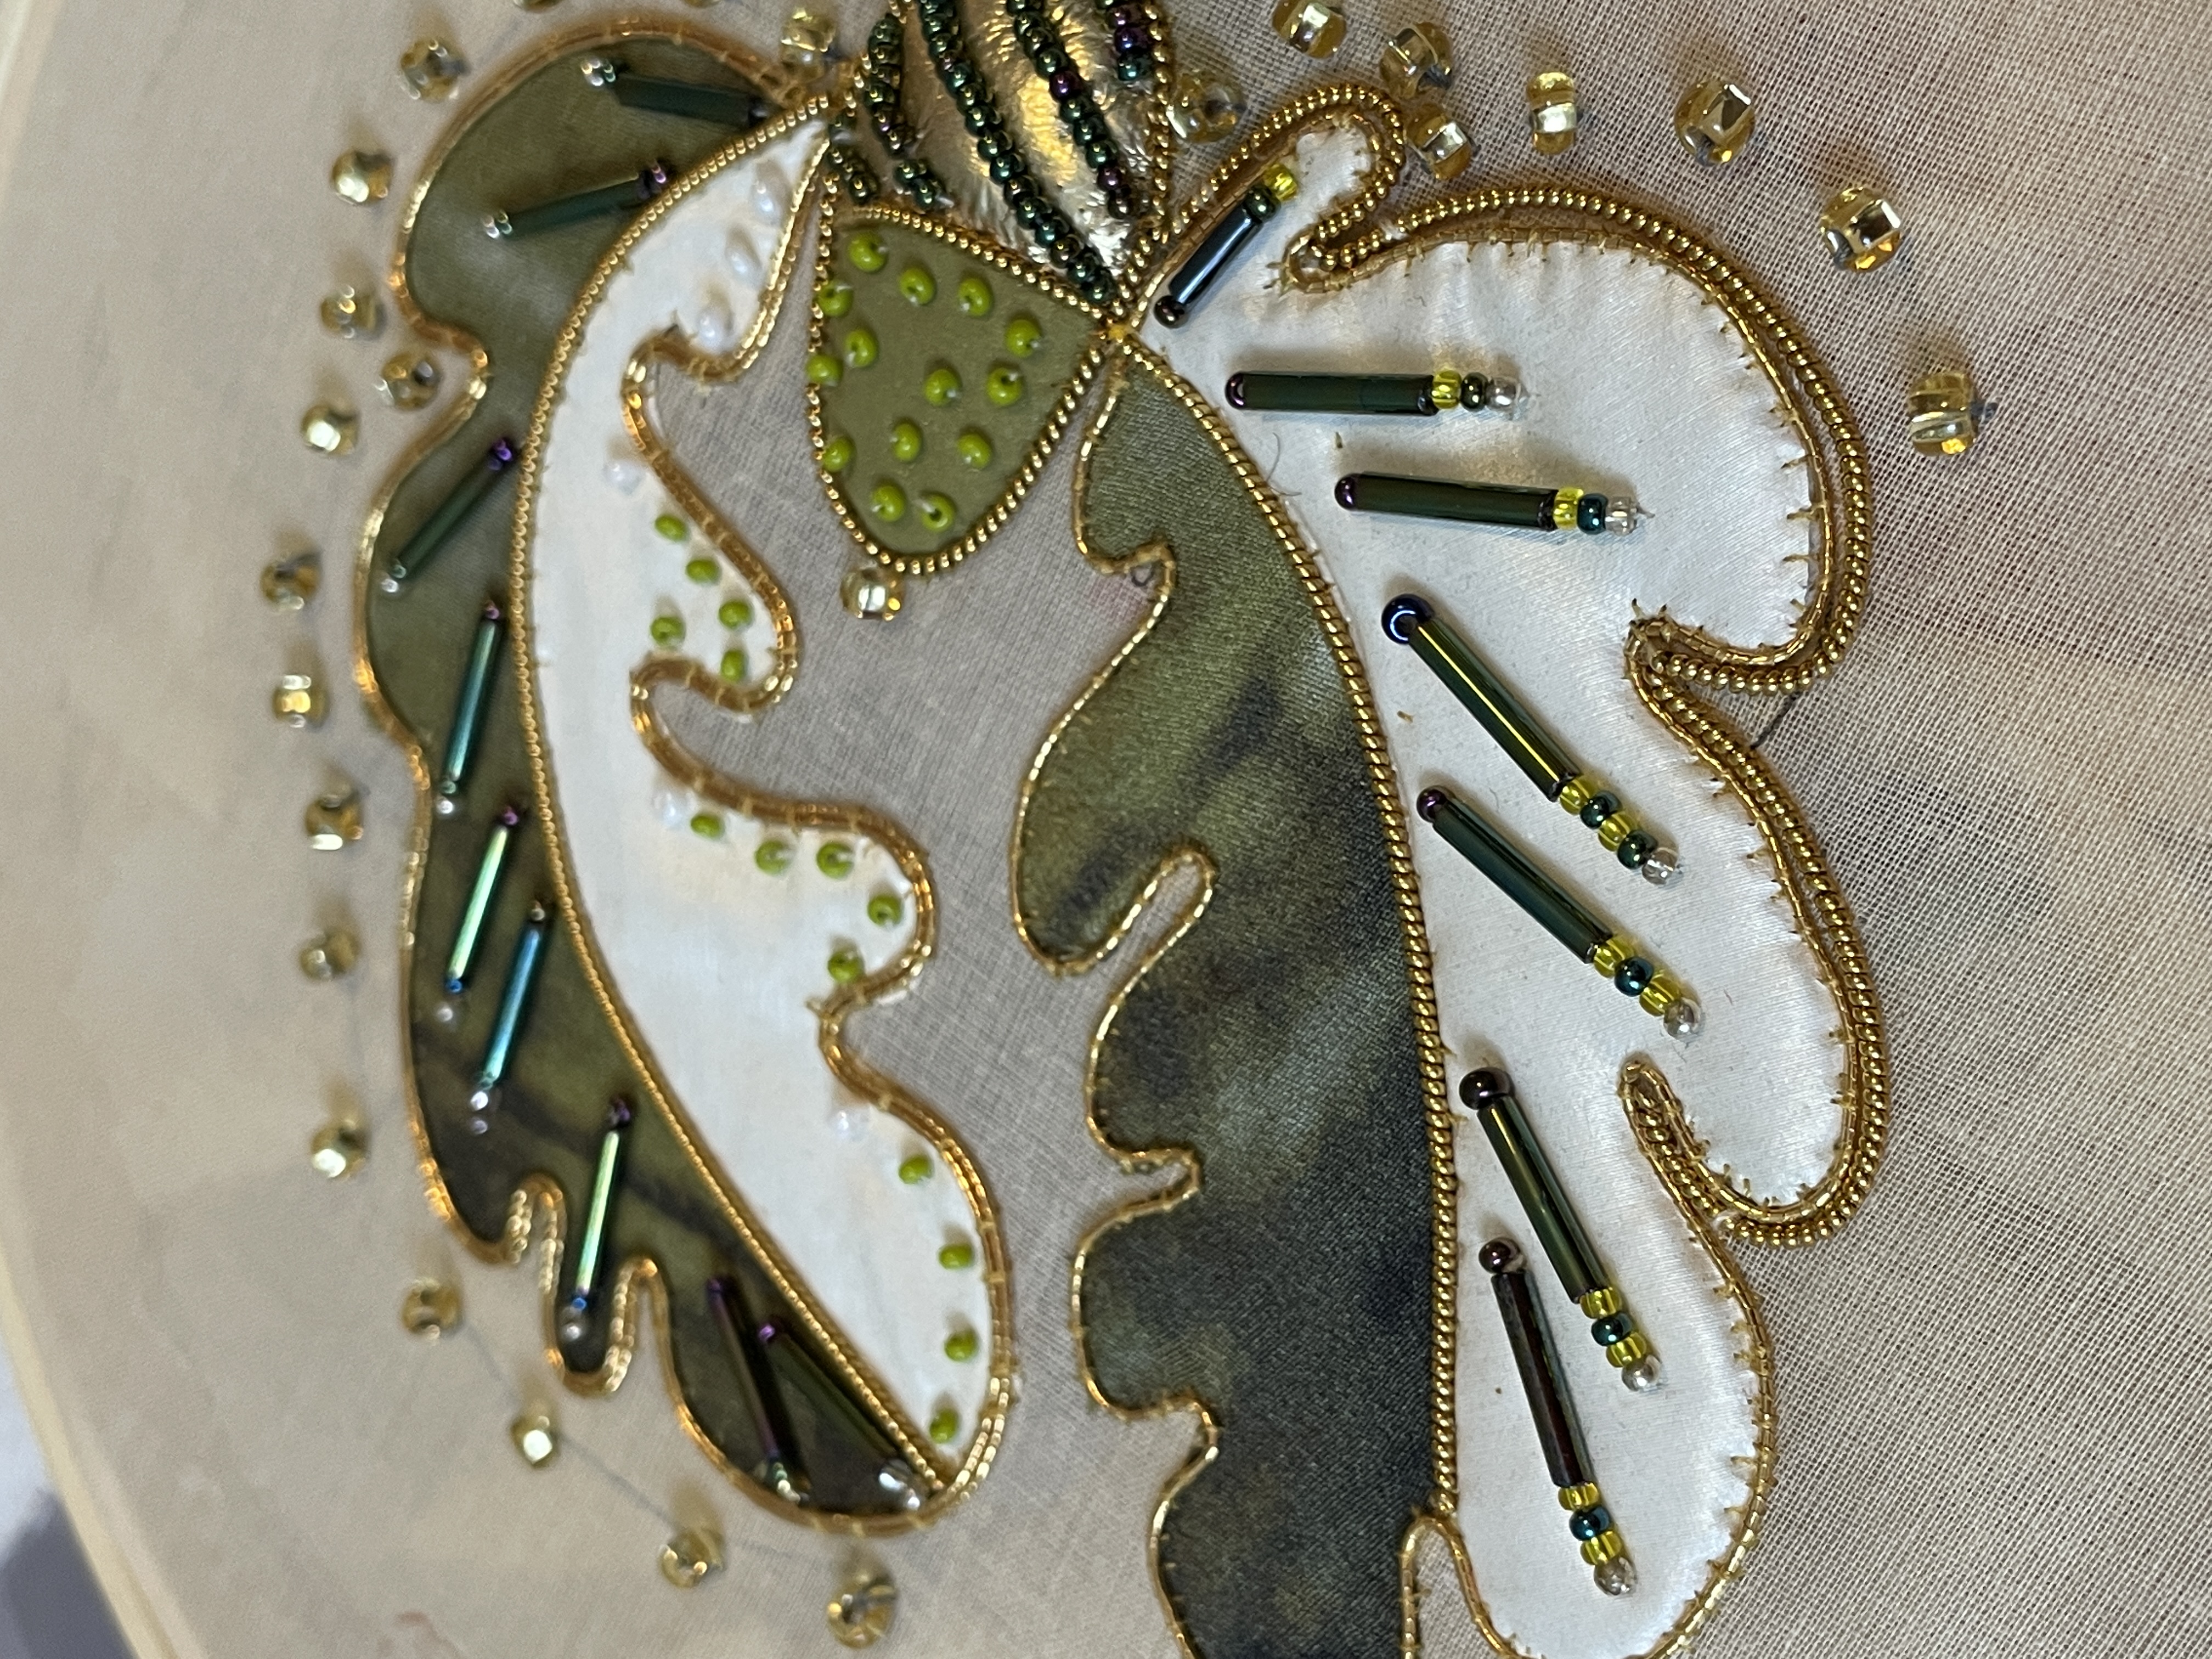
Half leaf padded under the cream fabric.
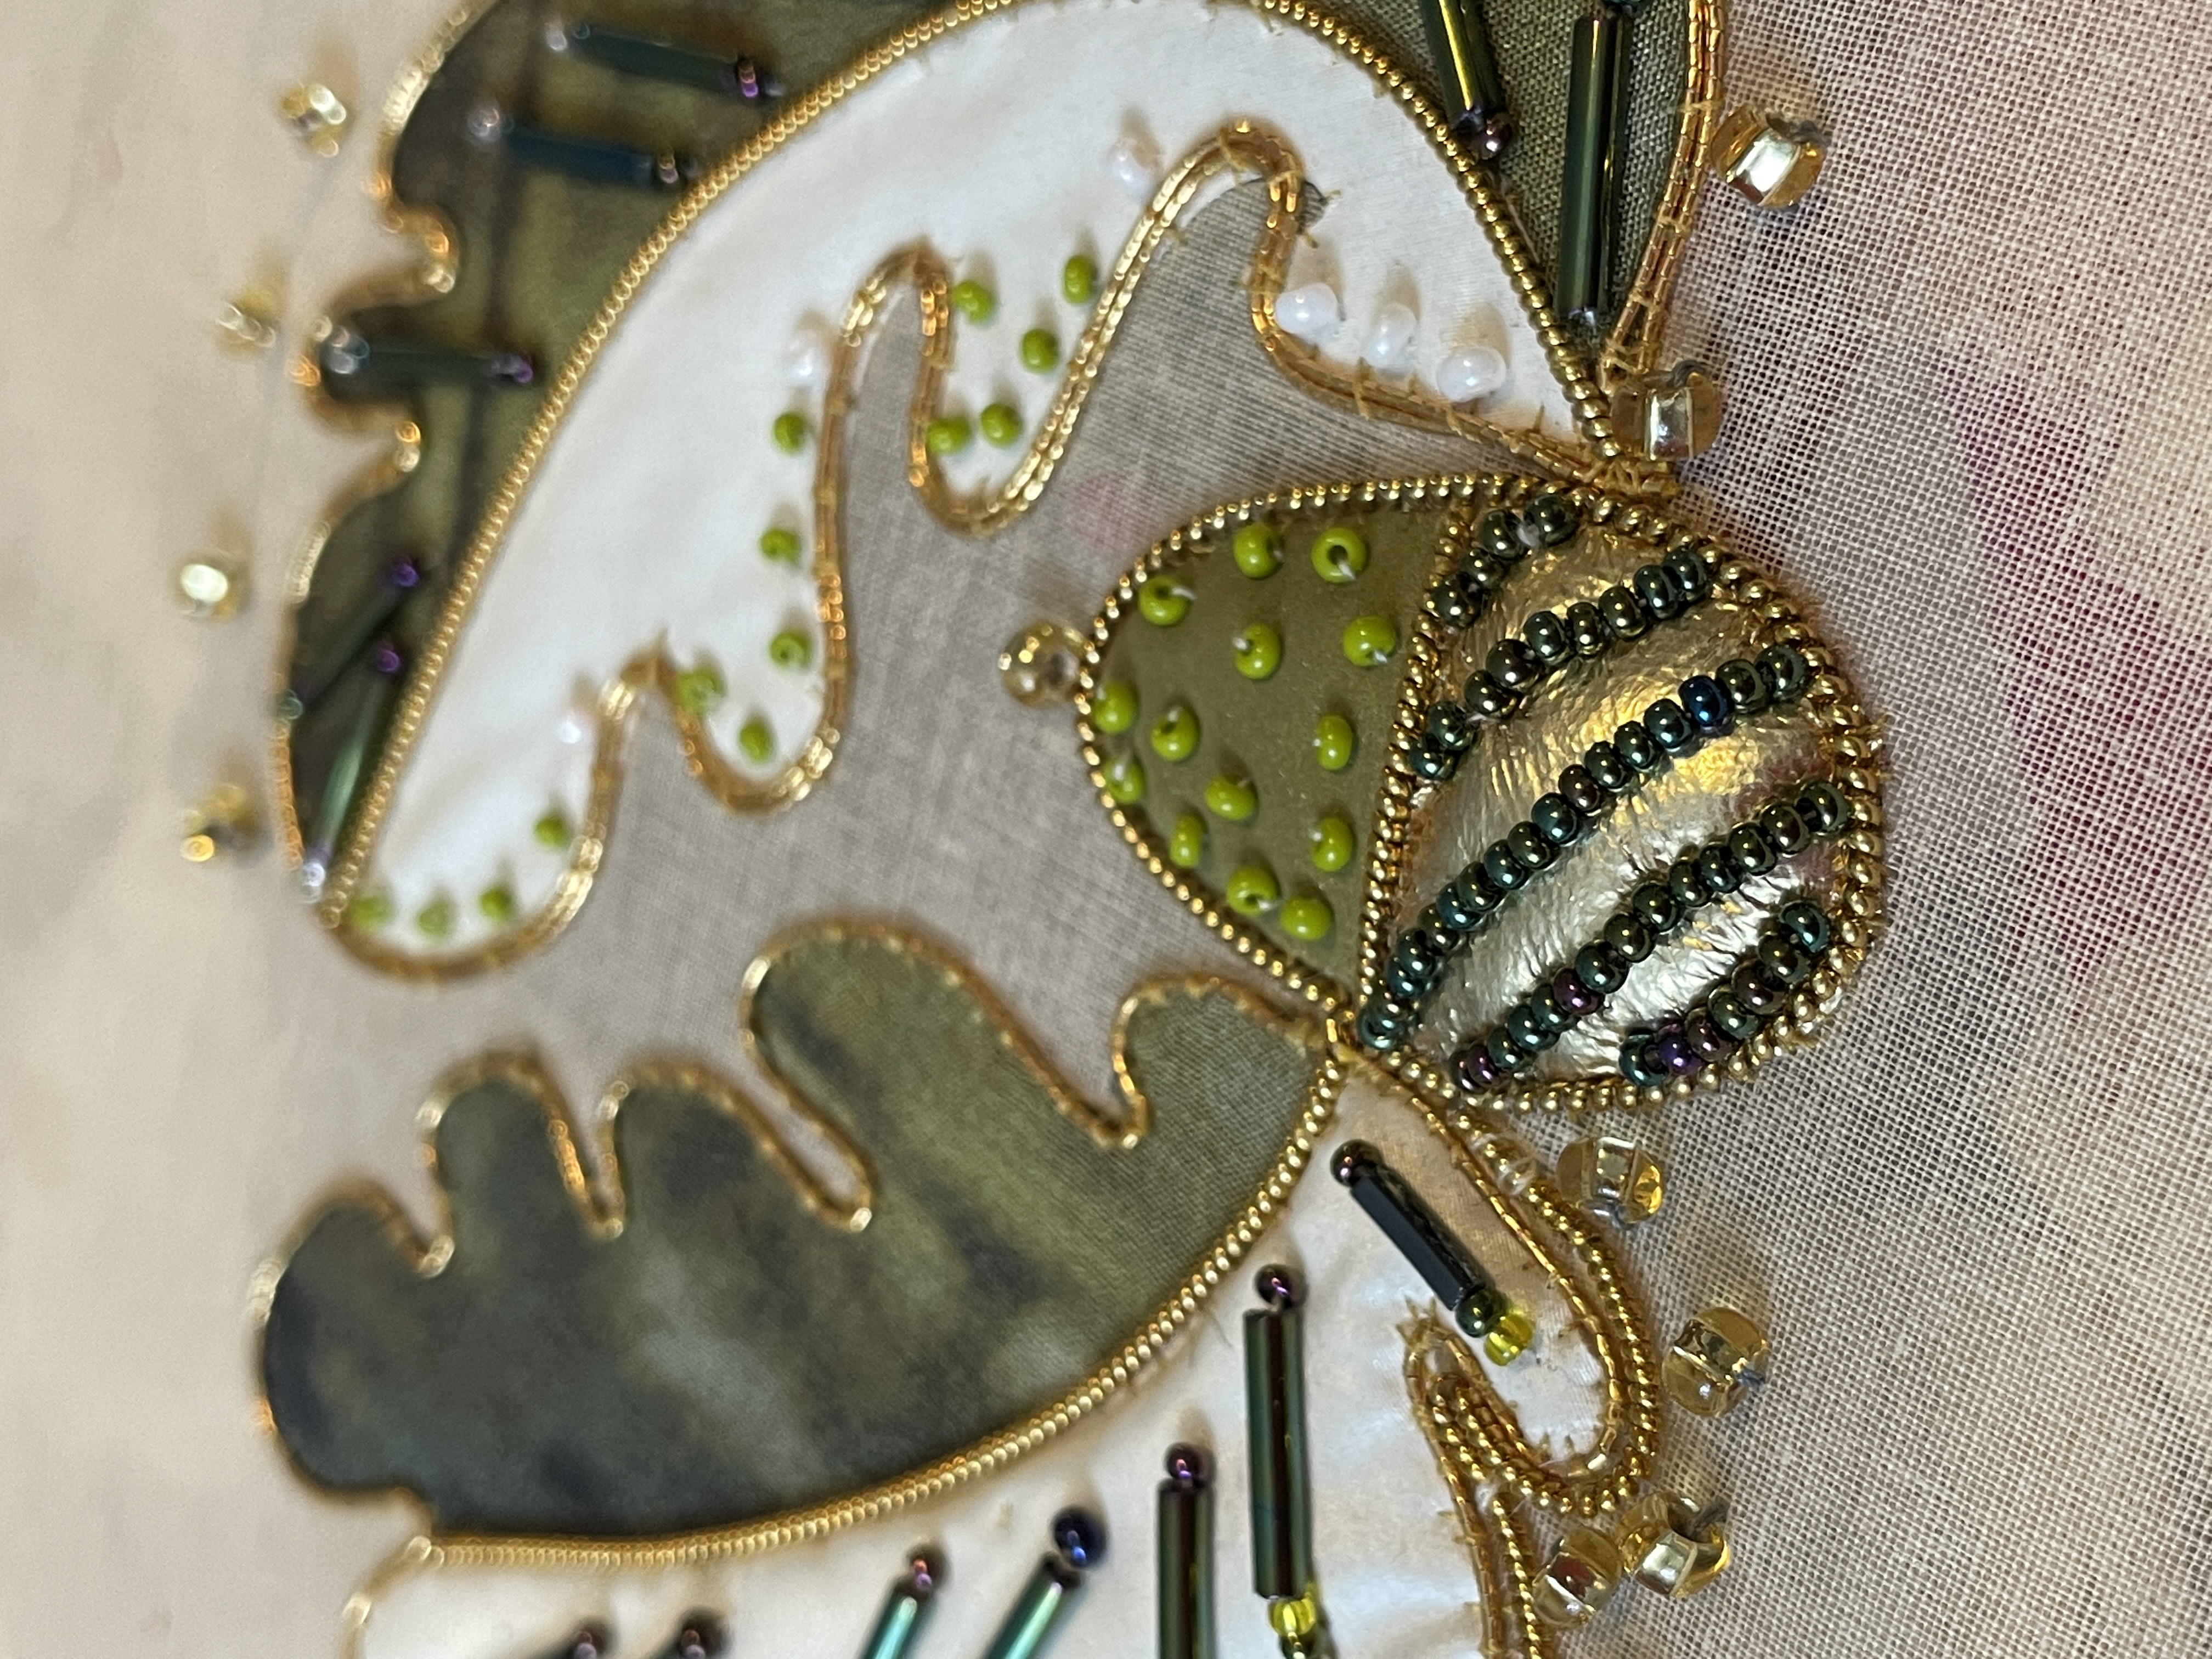
Acorn was padded, more under the gold cup.
FLY BABY FLY, GO WILD, HAVE COURAGE, YOU CAN DO IT!
IF I CAN DO IT YOU CAN DO IT!
Use these hashtags on all posts regarding Lou’s cape campaign of creative courage to get involved:
#stitchanacorn #acornarmy #marchmonthouse #flyingacorns #capeofcreativepurpose #lougardiner #comeflywithme #communityacornproject